
How to customize the login page
Client Portal automatically creates a branded login page where your clients can access their portals. This guide shows you how to customize the page title, add welcome messages, update branding, and embed the login form on other pages.
Finding your login page
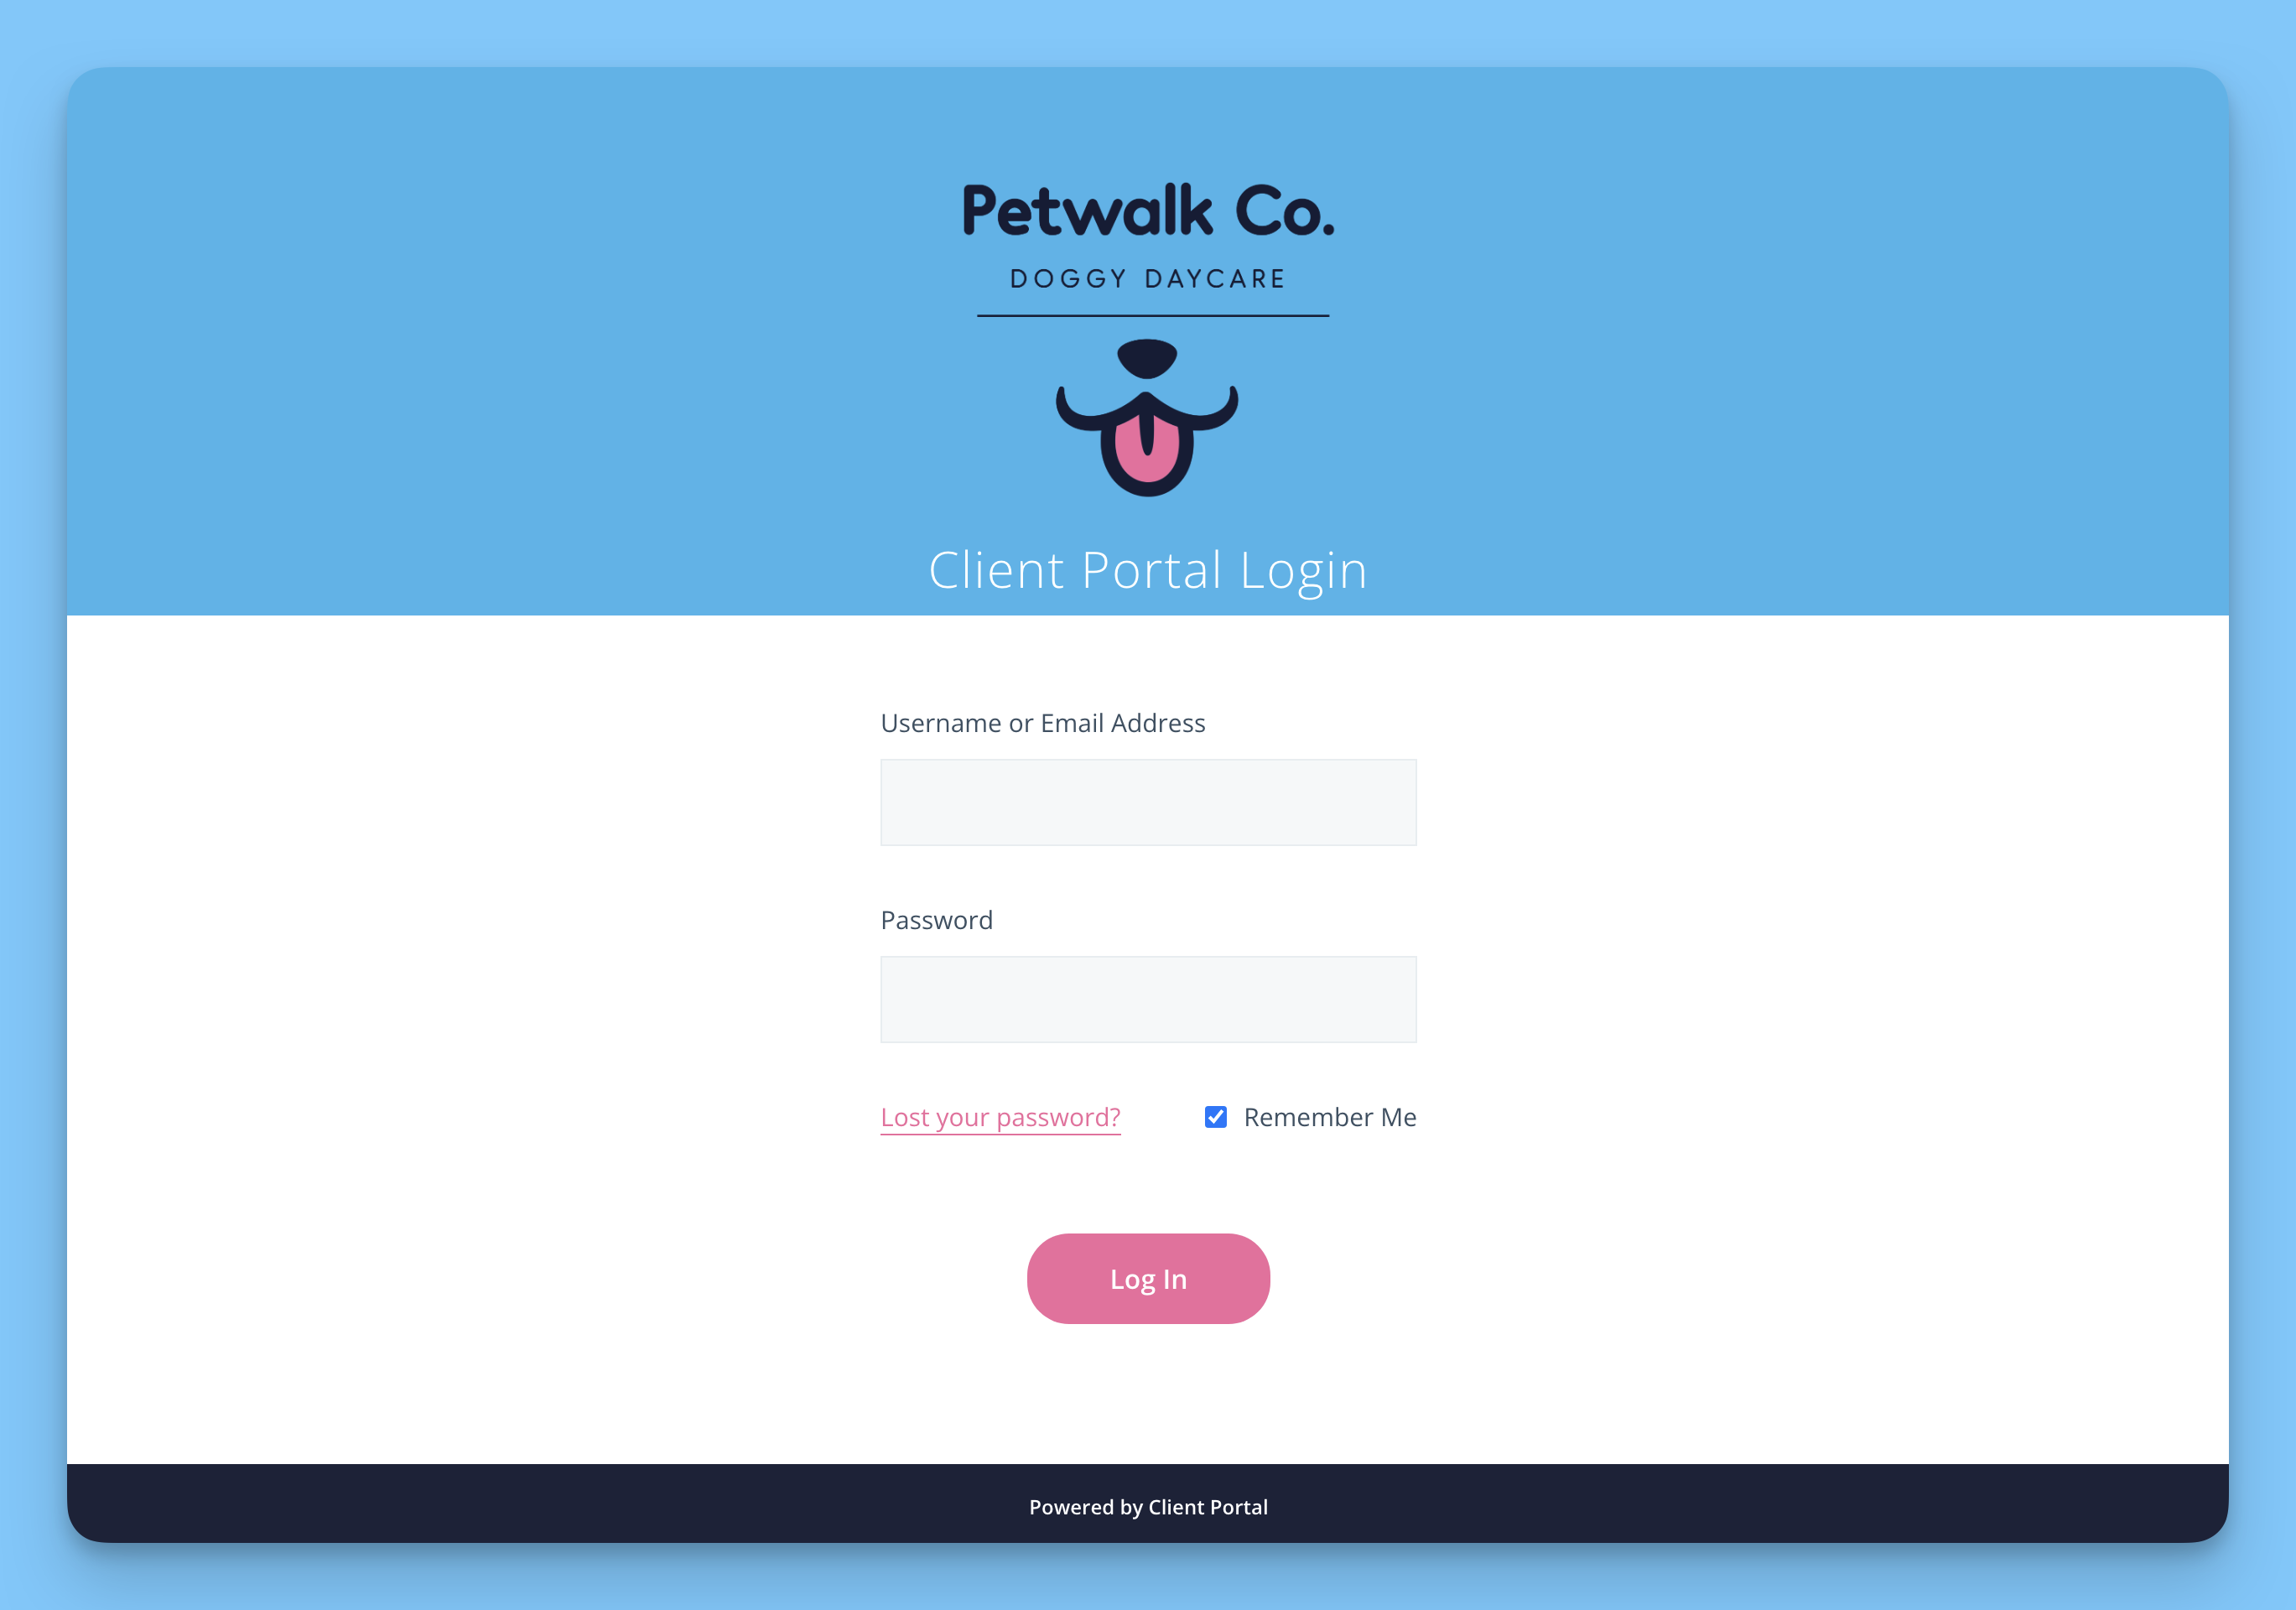
Client Portal creates a dedicated login page at yourdomain.com/client-portal-login when you activate the plugin. To edit this page:
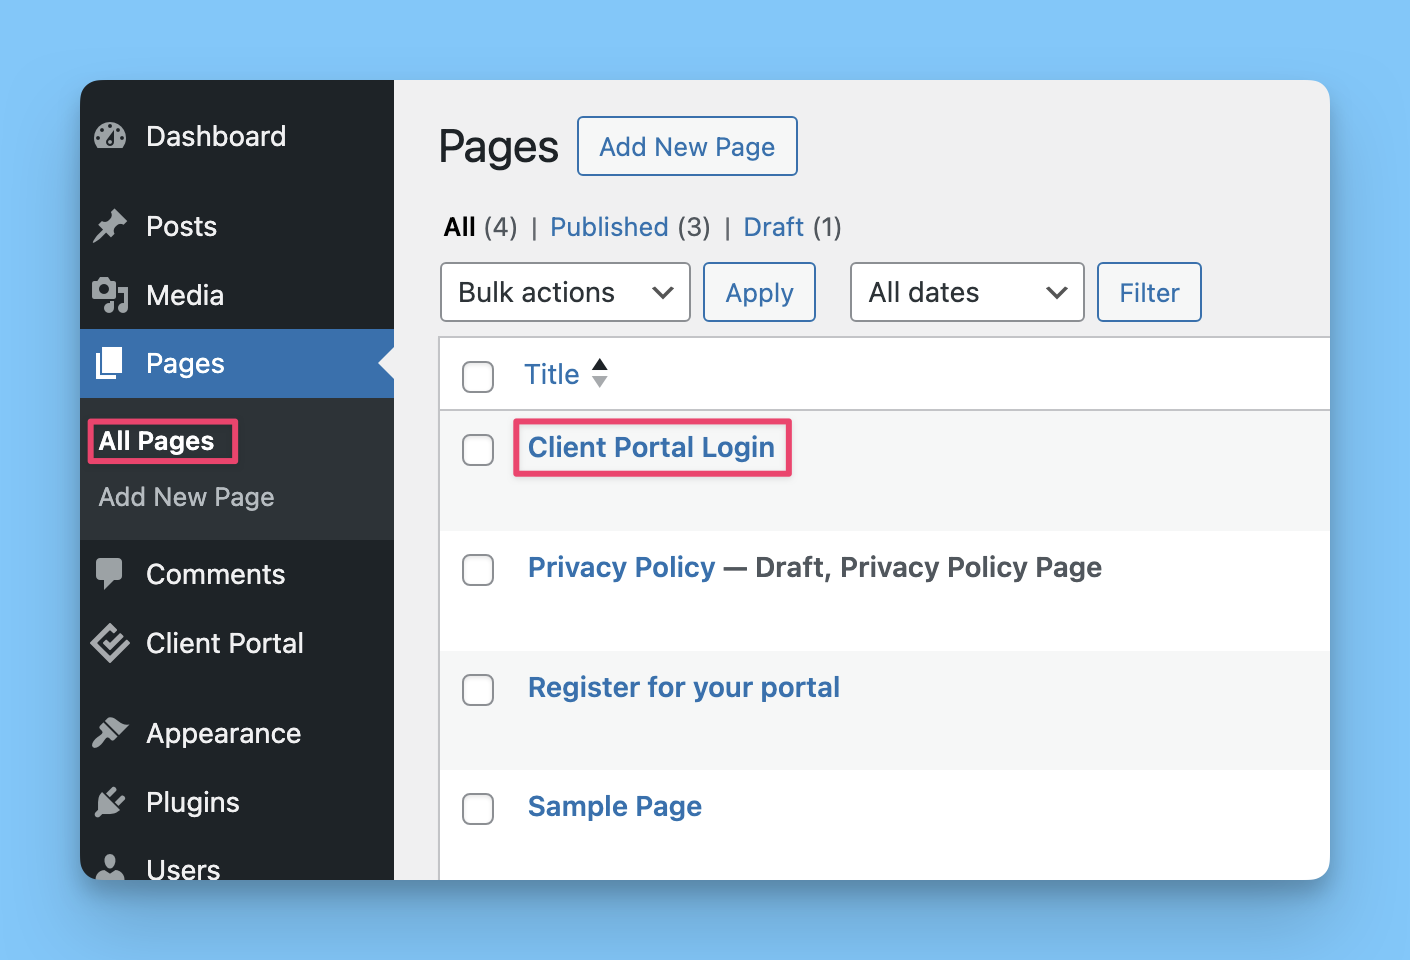
Navigate to Pages → All Pages in your WordPress dashboard
Find and click Client Portal Login
To preview the login page, log out of WordPress or use a private/incognito browser window. WordPress hides the login form when you're already logged in.
Customizing the page content
You can customize what appears on your login page using the WordPress block editor:
Changing the page title
The page title appears as the H1 heading on your login page. To change it:
Click the page title at the top of the editor
Type your new title (e.g., "Client Login" or "Welcome Back")
Click Update to save
Adding a welcome message
You can add text above the login form to welcome clients or provide instructions:
Click the + button above the Login Form block
Add a Paragraph or Heading block
Type your welcome message (e.g., "Hello and welcome! Please log in to access your portal.")
Click Update to save
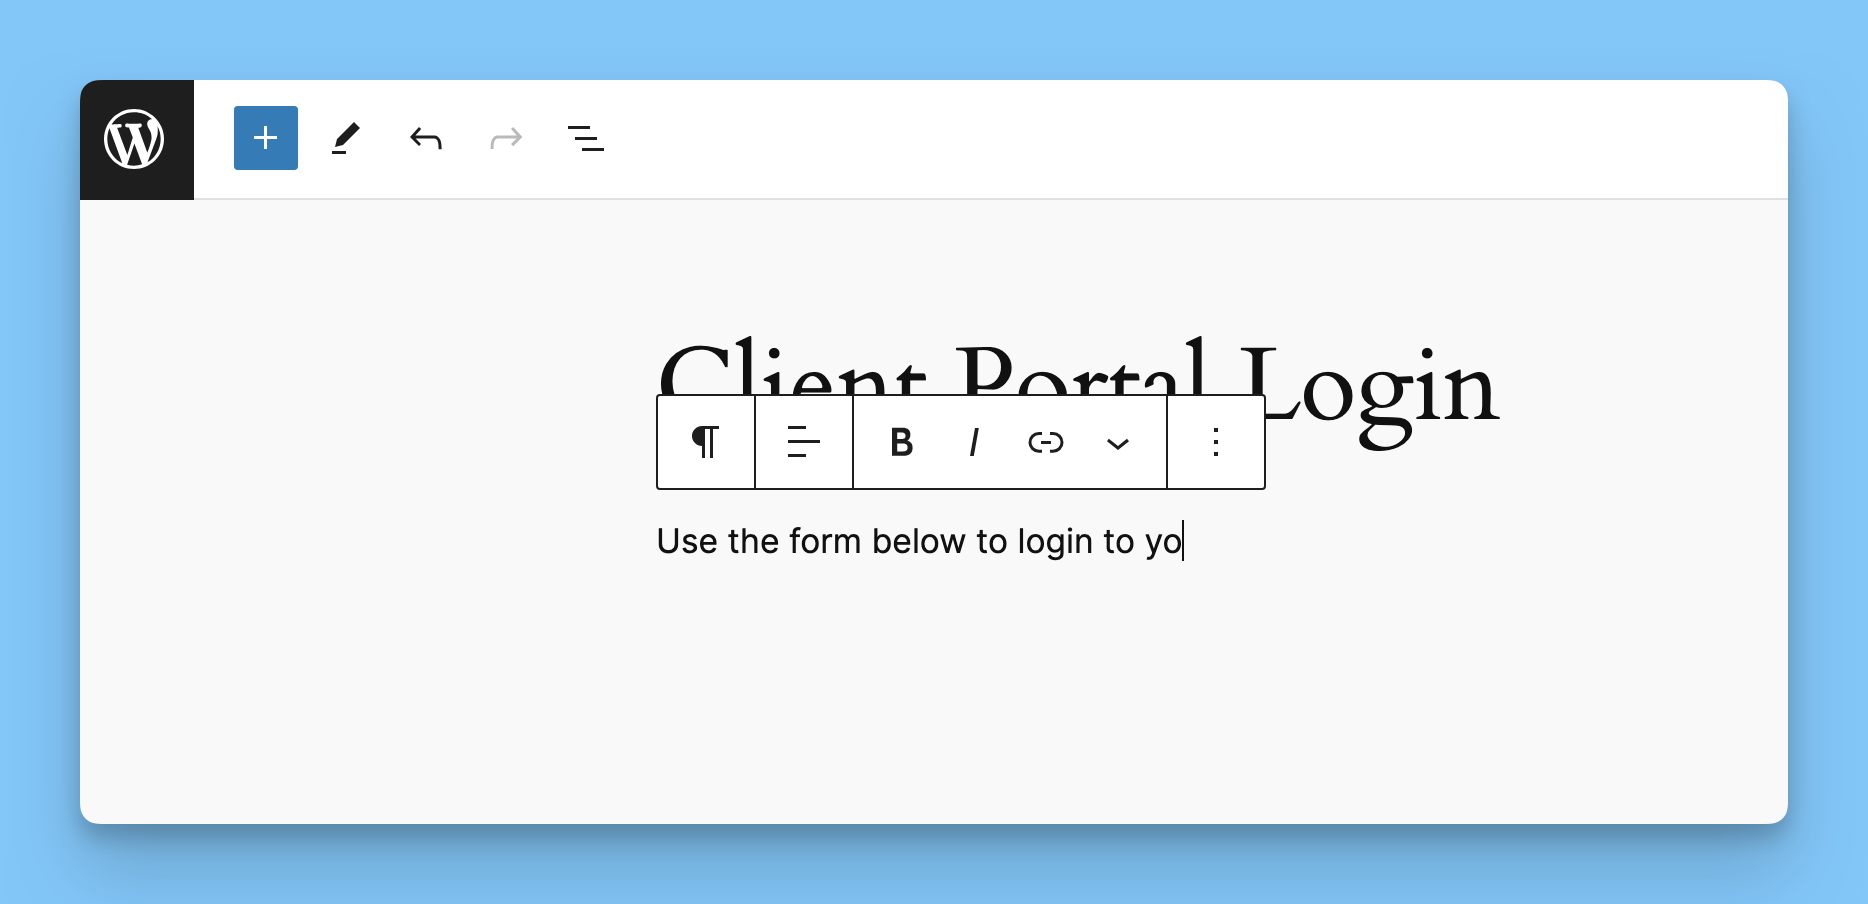
You can add any WordPress blocks above or below the login form, including images, videos, or additional text sections.
Adding your logo
To display your logo on the login page:
Click the + button above the Login Form block
Search for and add the Header Logo block (found under Client Portal)
Click Upload and select your logo from the Media Library
Optionally toggle Fixed width to set the logo to 270px wide
Click Update to save
Updating branding colors and logo
The colors and logo displayed on your login form come from your Client Portal settings:
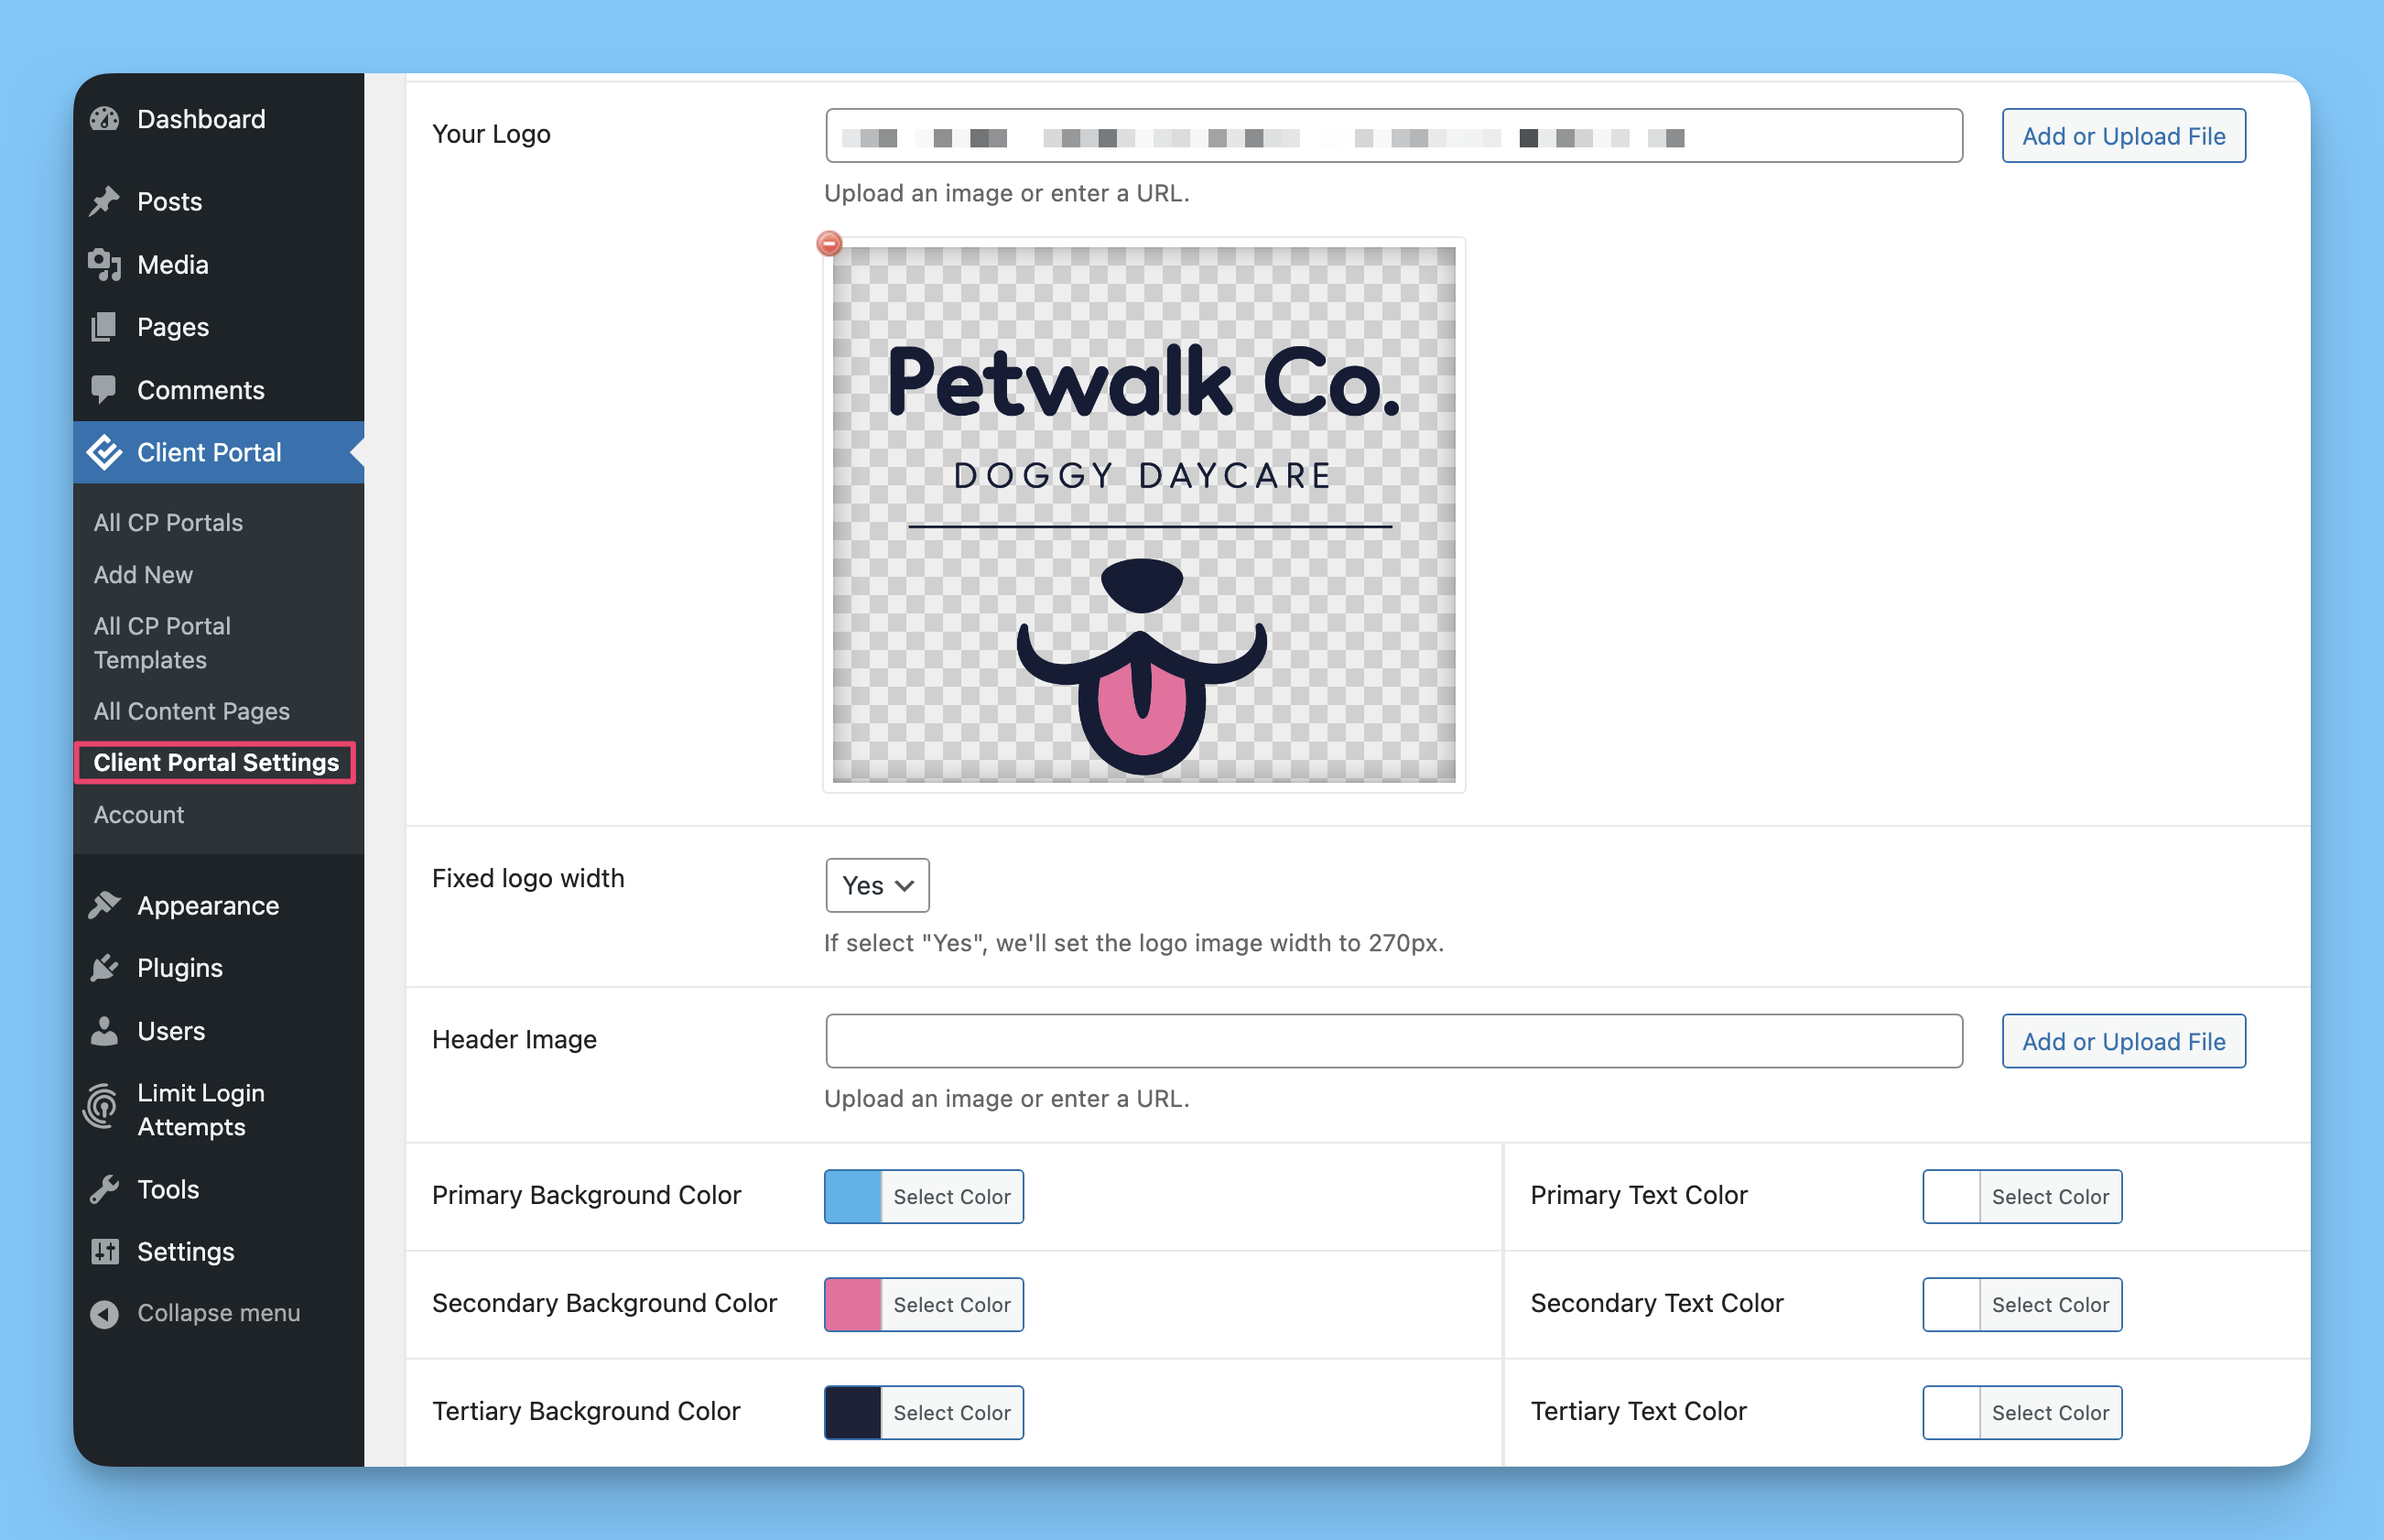
Navigate to Client Portal → Settings
Under the General tab, upload your logo and choose your brand colors:
Primary Background/Text (buttons and key elements)
Secondary Background/Text (form fields and secondary elements)
Tertiary Background/Text (backgrounds and subtle elements)
Go to the Register/Login tab
Ensure Enable Brand Colors is set to Yes
Click Save Changes
These branding settings apply globally to all login and registration forms, whether on the dedicated page or embedded elsewhere.
Embedding the login form on an existing page
If you prefer to display the login form on your homepage or another existing page:
Navigate to Pages → All Pages
Open the page where you want to add the login form
Click the + button where you want the form to appear
Search for and add the Login Form block (found under Client Portal)
Click Update to save
When you embed the form on an existing page, your theme's styling will apply to the surrounding page elements. The login form itself will still use your Client Portal branding colors. For full control over styling, use the dedicated login page.
You can only add one Login Form block per page. If you need both login and registration forms on the same page, add both blocks and consider linking between them with text.
Advanced customization with CSS
For more control over the login page appearance, you can add custom CSS:
Navigate to Client Portal → Settings → General
Scroll to the Custom CSS section for your theme
Add your CSS targeting these classes:
.leco-cp-login(login page wrapper).leco-cp-login-form(login form container)#wp-submit(login button).login-error(error messages)
Click Save Changes
For detailed CSS customization guidance, see How to customize your portals with custom CSS.
Removing the "Powered by Client Portal" footer
To hide the footer link from your login page:
Navigate to Client Portal → Settings → Misc
Set Display the 'Powered By' link to No
Click Save Changes
If the footer persists after saving, clear your site cache. As a fallback, add this CSS to your Custom CSS settings: .contacts li:last-child {display:none;}
Troubleshooting
Login form is blank or missing
Make sure your login page includes the Login Form block or [client_portal_login] shortcode. If you deleted it accidentally, add it back using the block editor.
Styling looks broken on mobile
This usually indicates a caching issue. Exclude /client-portal-login from your cache plugin settings. See Exclude Client Portal from cache for details.
Clients see a login loop or can't stay logged in
Ensure /client-portal-login and /client/* paths are excluded from your caching plugin. Also exclude the wp-resetpass-* cookies from cache.