
How to set up reCAPTCHA for registration forms
What you'll accomplish
Protect your client registration form from spam and bots by adding Google reCAPTCHA. This guide walks you through creating Google API keys, installing the required WordPress plugin, and enabling reCAPTCHA for your Client Portal registration form.
reCAPTCHA only protects the registration form where clients sign up for portals. It does not apply to the login form where existing clients access their portals.
Before you start
Make sure you have:
Client Portal version 4.14.2 or later
A registration page with the
[client_portal_register]shortcode or Client Portal Register Form blockA default project and template configured in Client Portal settings (Settings > Client Portal > Register/Login)
Administrator access to your WordPress site
If you haven't set up self-registration yet, read Automatic portal creation: let clients register themselves first.
Step 1: Get your Google reCAPTCHA keys
Visit the Google reCAPTCHA Admin Console and sign in with your Google account.
Click the + icon to register a new site
Enter a label like "Client Portal Registration"
Choose your reCAPTCHA type:
reCAPTCHA v3 – Invisible verification with score-based detection (recommended for seamless user experience)
reCAPTCHA v2 – "I'm not a robot" checkbox
Invisible reCAPTCHA – No interaction required unless suspicious activity detected
Add your domain (e.g.,
yoursite.com) without http:// or https://Accept the terms and click Submit
Copy the Site Key and Secret Key – you'll need these in the next step
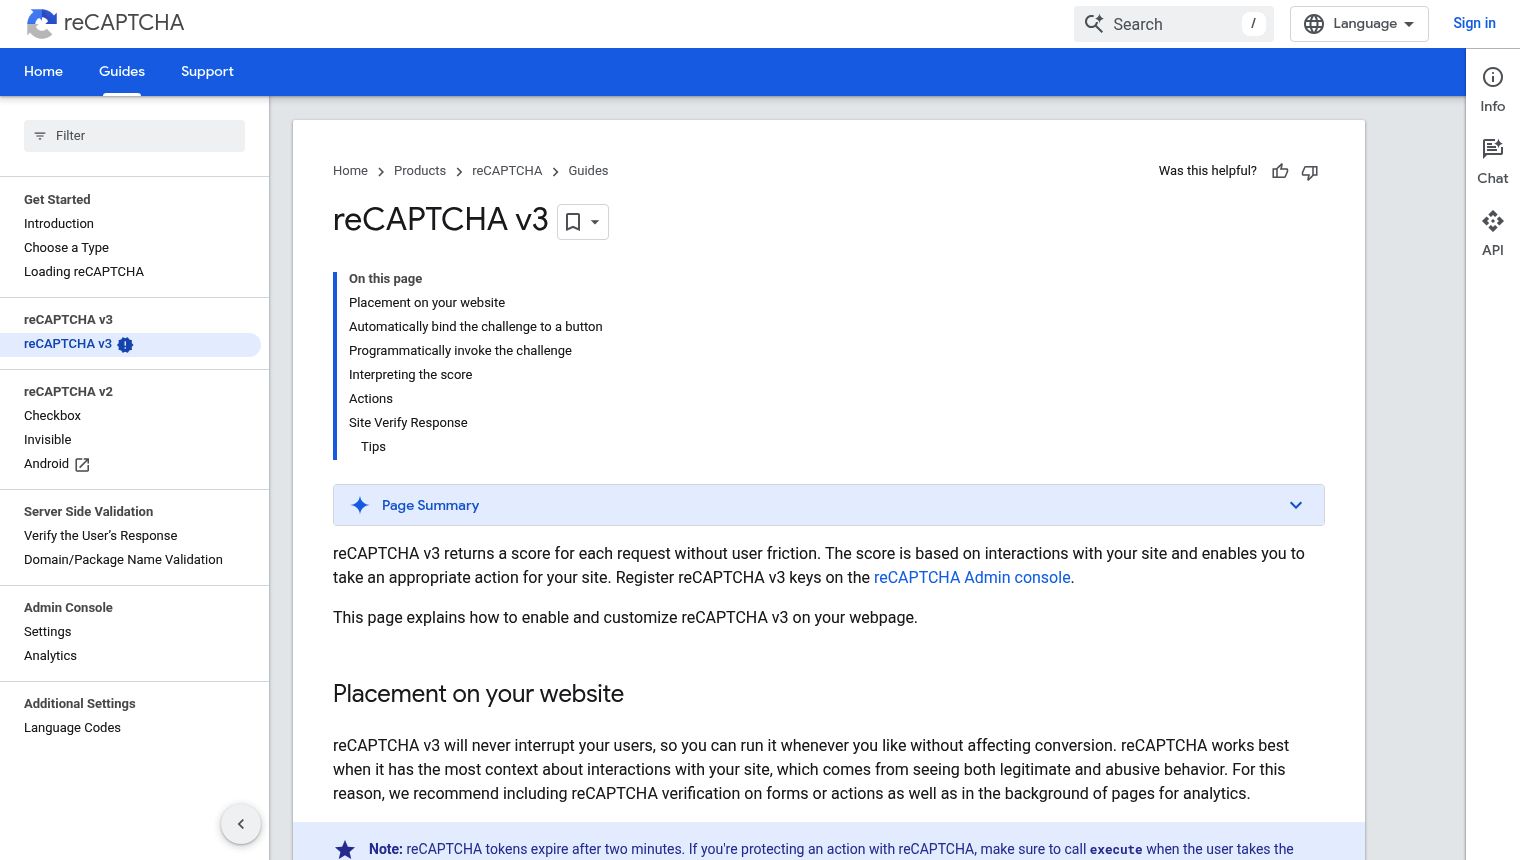
Need more help creating keys? Check the official Google reCAPTCHA documentation.
Step 2: Install and configure the reCaptcha plugin
Client Portal works with the reCaptcha by BestWebSoft plugin to add reCAPTCHA to your registration form.
In your WordPress dashboard, go to Plugins > Add New
Search for "reCaptcha by BestWebSoft"
Click Install Now, then Activate
Navigate to Settings > reCaptcha in your WordPress admin menu
Paste your Site Key and Secret Key from Step 1
Select your reCAPTCHA version (must match what you chose in Google Admin Console)
Click Test to verify your keys work correctly
Scroll down to the form list and enable the checkbox for Client Portal Register Form
Click Save Changes
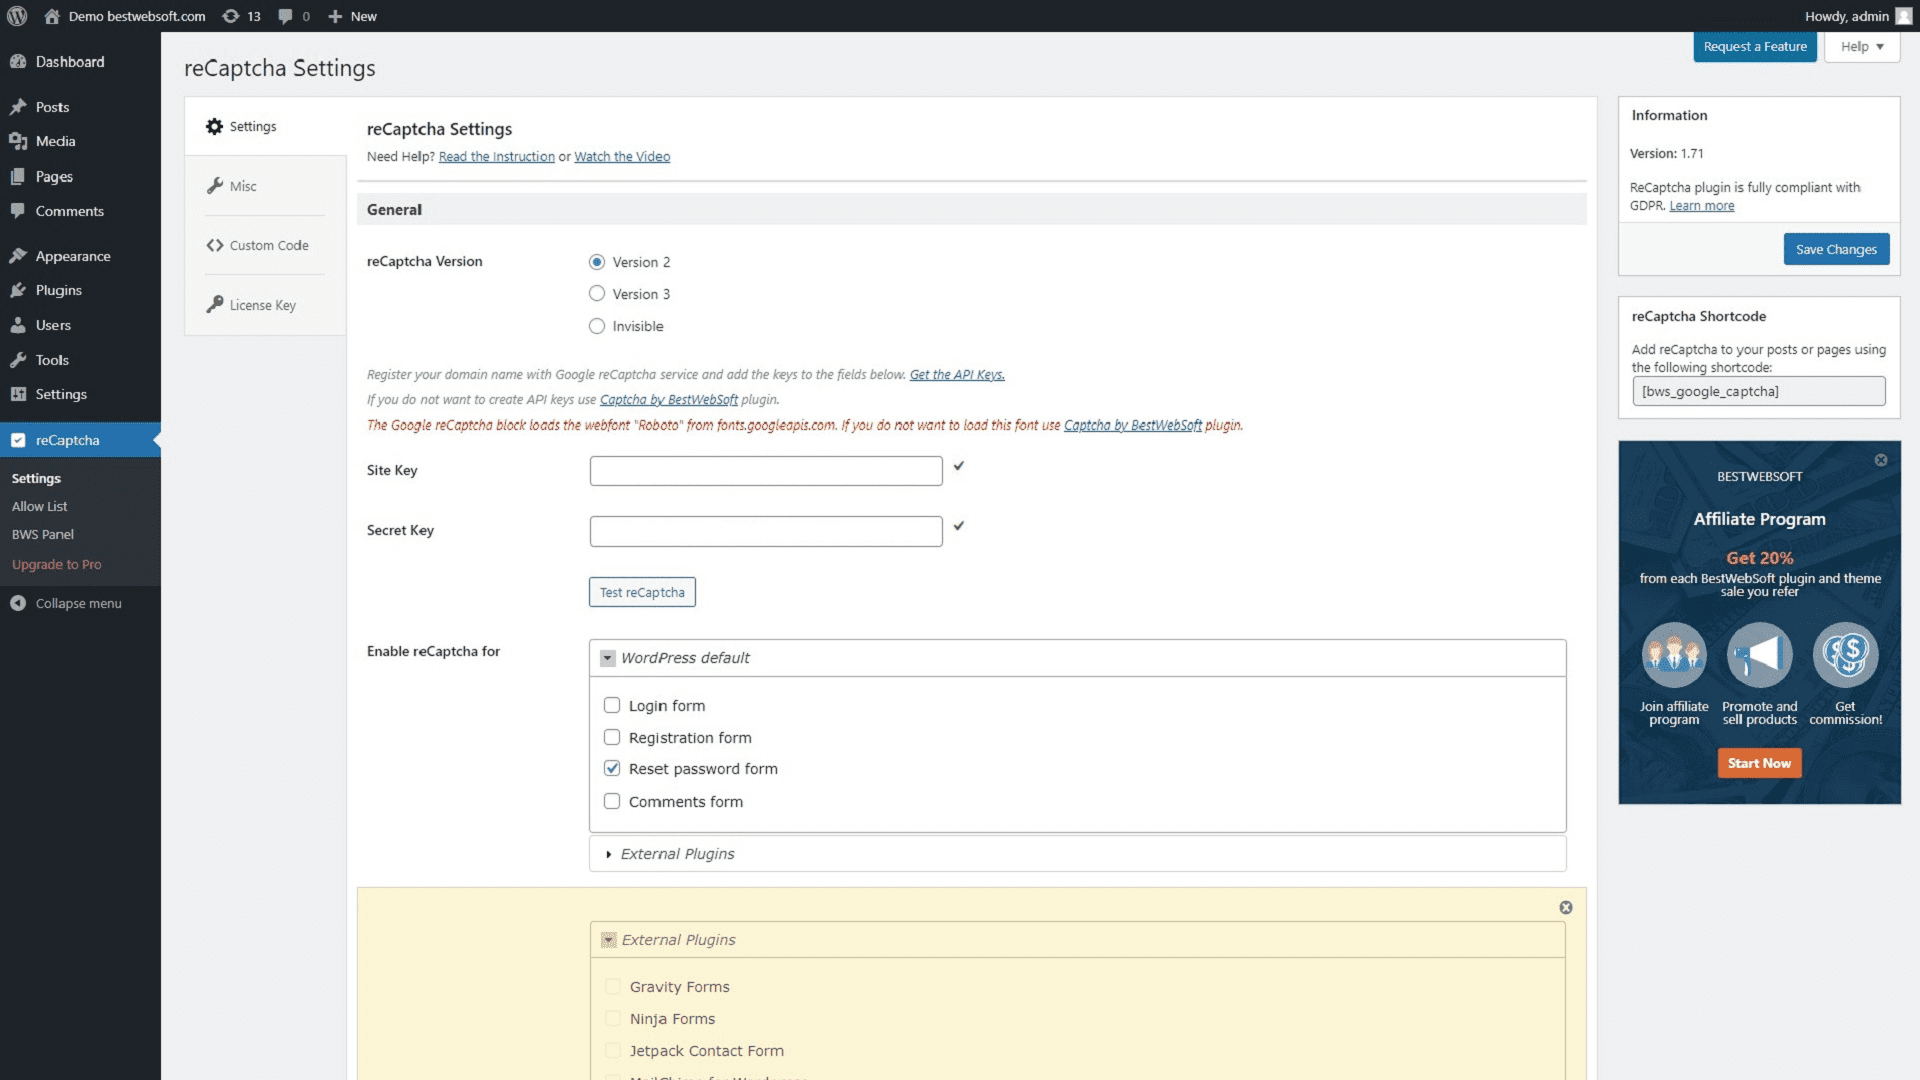
Make sure you enable the checkbox specifically for Client Portal Register Form in the BestWebSoft settings, not just the generic "Registration form" option. Client Portal automatically registers its form with the plugin.
For detailed plugin instructions, visit the BestWebSoft reCAPTCHA user guide.
Step 3: Test your registration form
Visit your public registration page (the page where you added the [client_portal_register] shortcode or block).
You should see the reCAPTCHA widget appear on the form before the submit button
Fill out the registration fields (First Name, Last Name, Email)
Complete the reCAPTCHA challenge if using v2 checkbox, or simply submit if using v3/Invisible
Click Register or Complete Registration
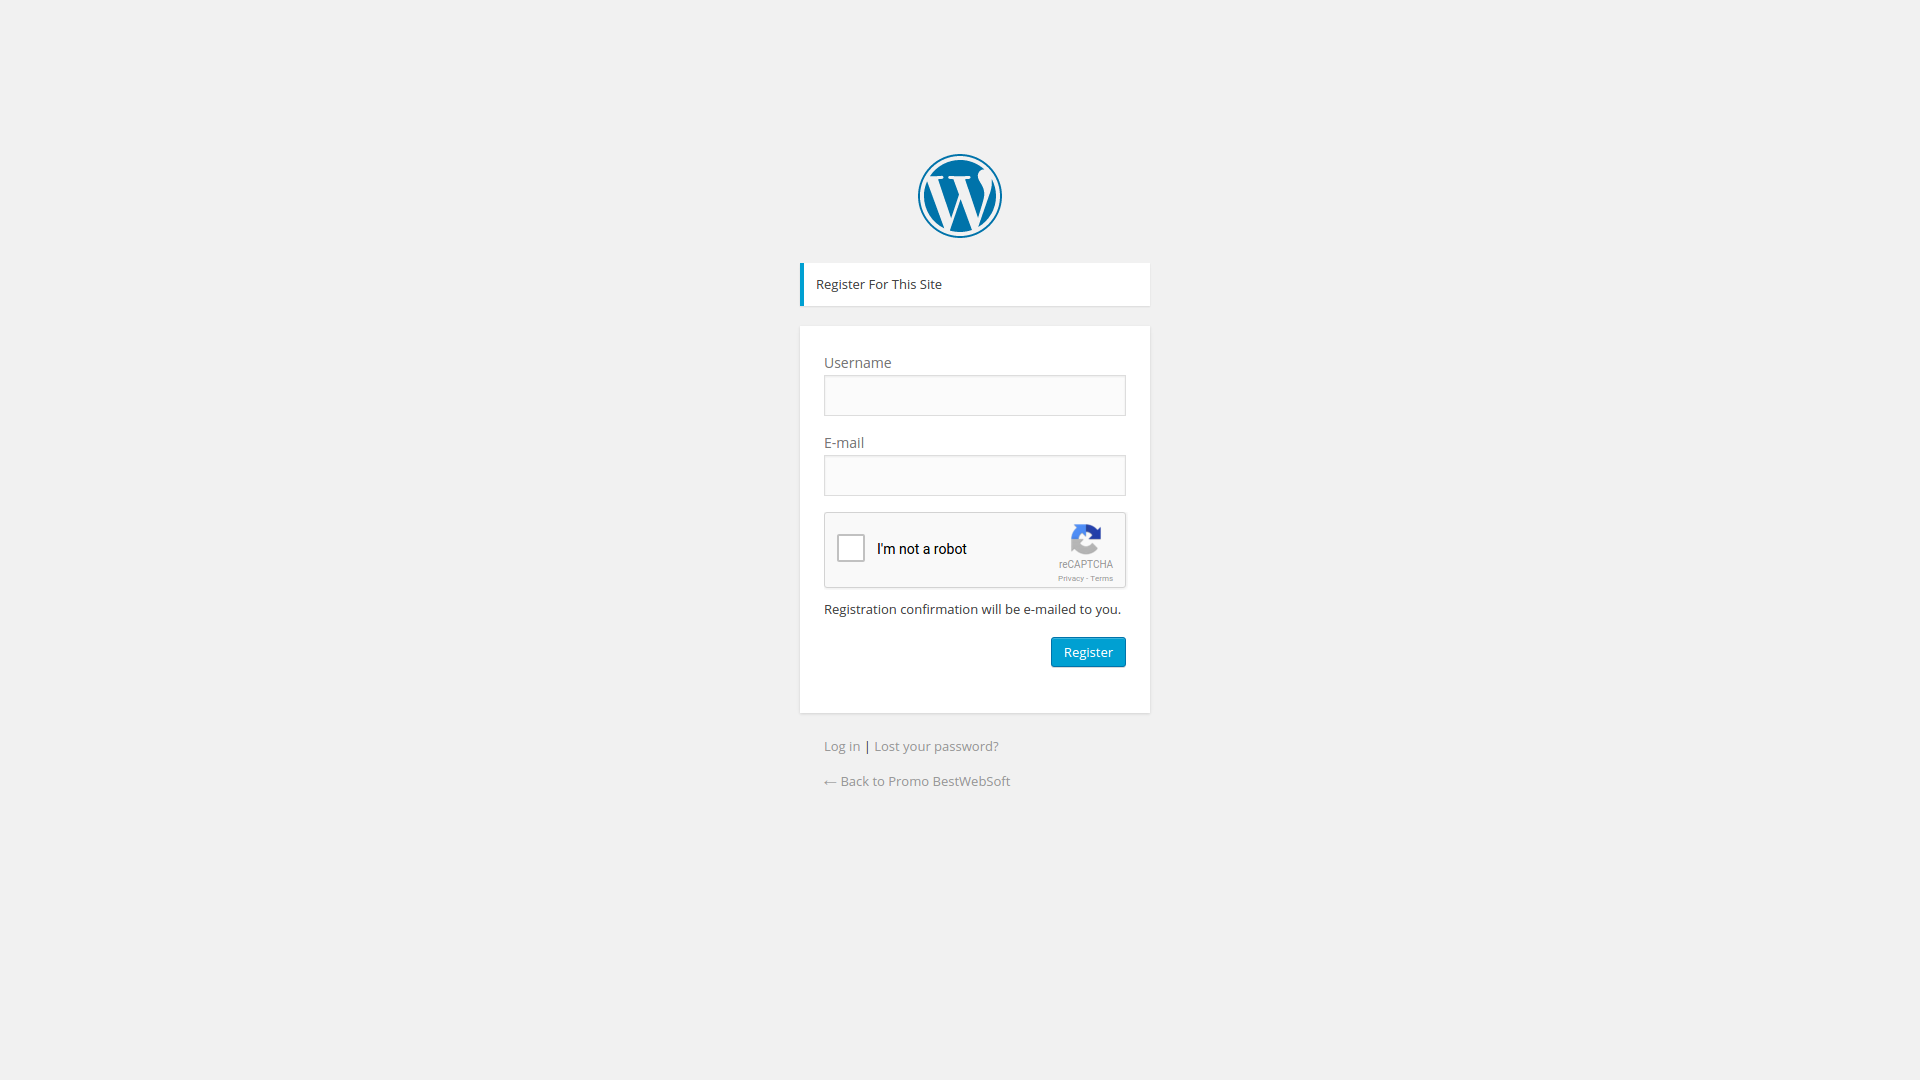
If the reCAPTCHA verification fails, users will see a red error message: "The Google Recaptcha has failed." They can reload the page and try again.
Successful registration should create a new client portal and send the client an email notification with access instructions.
Troubleshooting common issues
reCAPTCHA widget not appearing
Verify the BestWebSoft plugin is active and the Client Portal Register Form checkbox is enabled
Check that your Site Key and Secret Key are correct and match the domain
Make sure your domain in Google Admin Console doesn't include http://, https://, or trailing slashes
Confirm you're using Client Portal 4.14.2 or later
reCAPTCHA keeps failing
If using reCAPTCHA v3, try switching to v2 or Invisible in both Google Admin Console and plugin settings
Check for browser ad blockers or privacy extensions that may block reCAPTCHA scripts
Disable other reCAPTCHA or CAPTCHA plugins that might conflict
Clear your browser cache and cookies, then test again
Wrong reCAPTCHA version showing
The version shown on your form must match what you selected in both Google Admin Console (Step 1) and the BestWebSoft plugin settings (Step 2). If they don't match, update both to the same version and test again.
Need help with client management? See How to add clients to your portals.