Setting up your first portal
Watch this short video to see how you can set up your first portal.
Check out our free workshop on planning your portals here.
Legacy Documentation (Classic Editor)
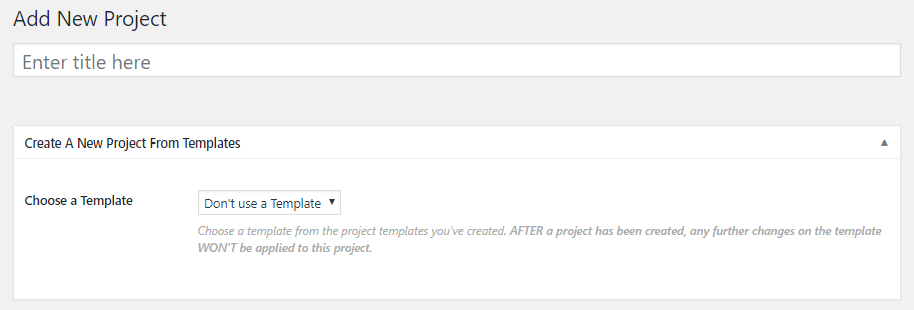
The first thing you need to do is go to Client Portal, All Projects and click 'Add New'.
Start by entering a title.
You have an opportunity to use a template (we'll cover this later).
Custom Branding
You can change the branding colors here, or if you did this in Client Portal Settings, those settings will appear in this project. But maybe you want to use your clients logo and colors, so you can adjust that here.
Your phone and email should be entered here, as well as any message that you want to give your client. This is pre-populated with text, but you can change it to something that might be more appropriate for your client or your business.
Project Information
This is your project status settings. When you view your portal, it's these 3 boxes.
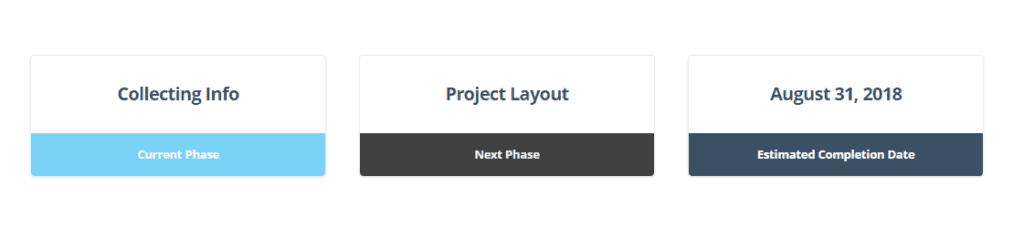
If you want to hide these completely, just click 'No' where it says 'Show Project Status'? If you want to have them in there, you can give them a name - Current Phase, Next Phase, and Estimated Completion Date.
Call to Action
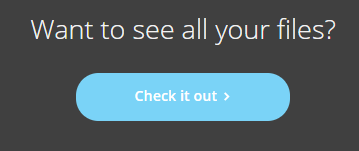
The Call to Action will be seen by your client at the very bottom of the portal. It allows you to link to a file or schedule a call, or however you want to use that. You can change the text and the URL where it links to. Or you can hide it if you don't want to use that space.
Modules and Phases
Then you're going to click 'Save and Show Modules'. This will generate some modules for you if you aren't already using a template.
By default, we've got 3 phases set up for you. But you can change those however you need. And we also have some modules set up for you. Again, you can change those or delete them.
For the modules, we recommend that you keep the descriptions short, or about the same length as the examples because those are a good length when you're viewing the portal. See below:
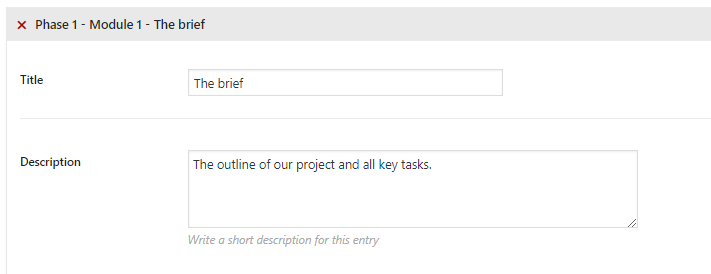
And below is how that will look when your client is viewing the portal. See how the description text becomes 2 lines? If you had a really long description, that would stretch the box and it won't look as nice.

Then you need to select an icon for the module. You can see above that each module has an icon.
Next select what behavior you want. Do you want it to open in a new window? And the status. (I've skipped the module type because it's a bit longer, but I'll come right back to that.)
Module Status
We currently have 3 statuses: active, completed, and inactive. To show you what that looks like, I've set 3 modules to these different statuses. Here's what they look like:
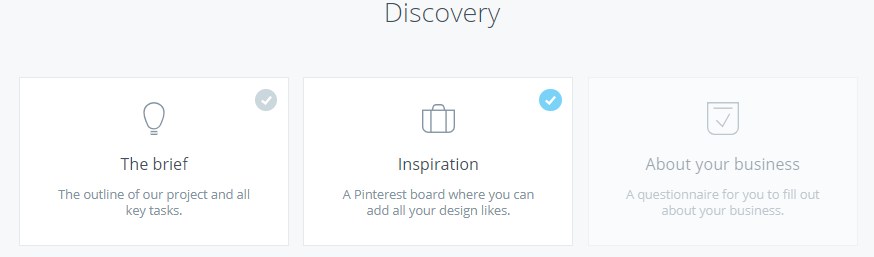
The Brief is 'Active'. Inspiration is 'Completed'. And About your business is 'Inactive'. So you can see they all appear differently based on their status that you set.
The active modules will be clickable if there is something inside them. The completed modules will have a tick or check mark in the corner that tells your client that the module is complete. The inactive is grayed out. This is good for something that is coming up, but not yet being worked on. It's nice because clients can see what's coming up next.
Module Type
The really important part for the modules is the module type.

Click on the drop down for module type and you'll see we have 3 different module types we can use: URL, Upload File(s), or Content Page.
Module Type: URL
For the URL, you'll just add the URL in the space. When they click on the module, it will take them directly to the URL that you indicate.
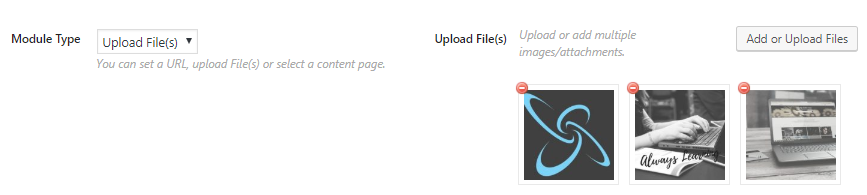
Module Type: Upload File(s)
For Upload File(s), it will give you a button to select which files to upload.

You'll select files or images from your WP media. Make sure to update your page.
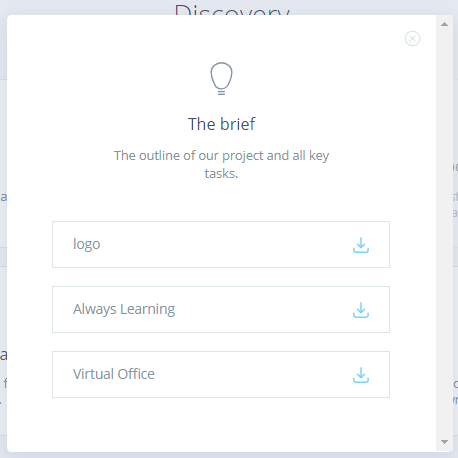
Then here's what it will look like when your client clicks on the module:
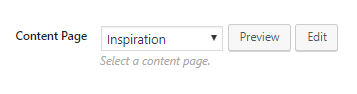
Module Type: Content Pages

In the Content Page field, you'll see content pages you've already created, but you'll most likely be creating a new page, so you'll leave it at 'Create New' in the field and click 'Add Now'. After you click 'Add Now', the field will change to the title of the module (see below). At this point you will click on Edit to open the Content Page and begin adding your content. There's another support doc that talks about editing content pages, so check that out for more details.
Bringing it all together
Basically you will figure out your work flow and go through the phases and modules and make changes so that it makes sense for your project and work flow. Remember to click update to save your changes as you go.
There's another video that shows you how to add a user. Once you've added your client as a user, you'll go back into the Project Information section and at the very bottom is 'Client Account'. The drop down menu will show you all of the users you have set up.

That's the basics of setting up your first client portal!